GitHub Integration
Buildnote offers multiple integration paths with GitHub to suit different development workflows and permission models. You can connect through a custom app installation or repository-level webhooks depending on your needs. Additionally, you can make use of an easy to setup GitHub Action that wraps Buildnote CLI functionality for collecting test results or files.
GitHub App
If your GitHub user has sufficient permissions you can install a custom GitHub App. After installation the app will send relevant pipeline events (workflow jobs, pushes) to Buildnote automatically.
To install the custom app follow these steps:
Step 1. Connect GitHub App Integration
In Buildnote navigate to Settings > Integrations and connect GitHub App.
Step 2. Integration Details
Select Organization installation (or personal depending on your GitHub account type), enter the required details and Create GitHub App.

Step 3. App Creation
You may need to authenticate with GitHub and will be prompted to create a new app in your GitHub account.

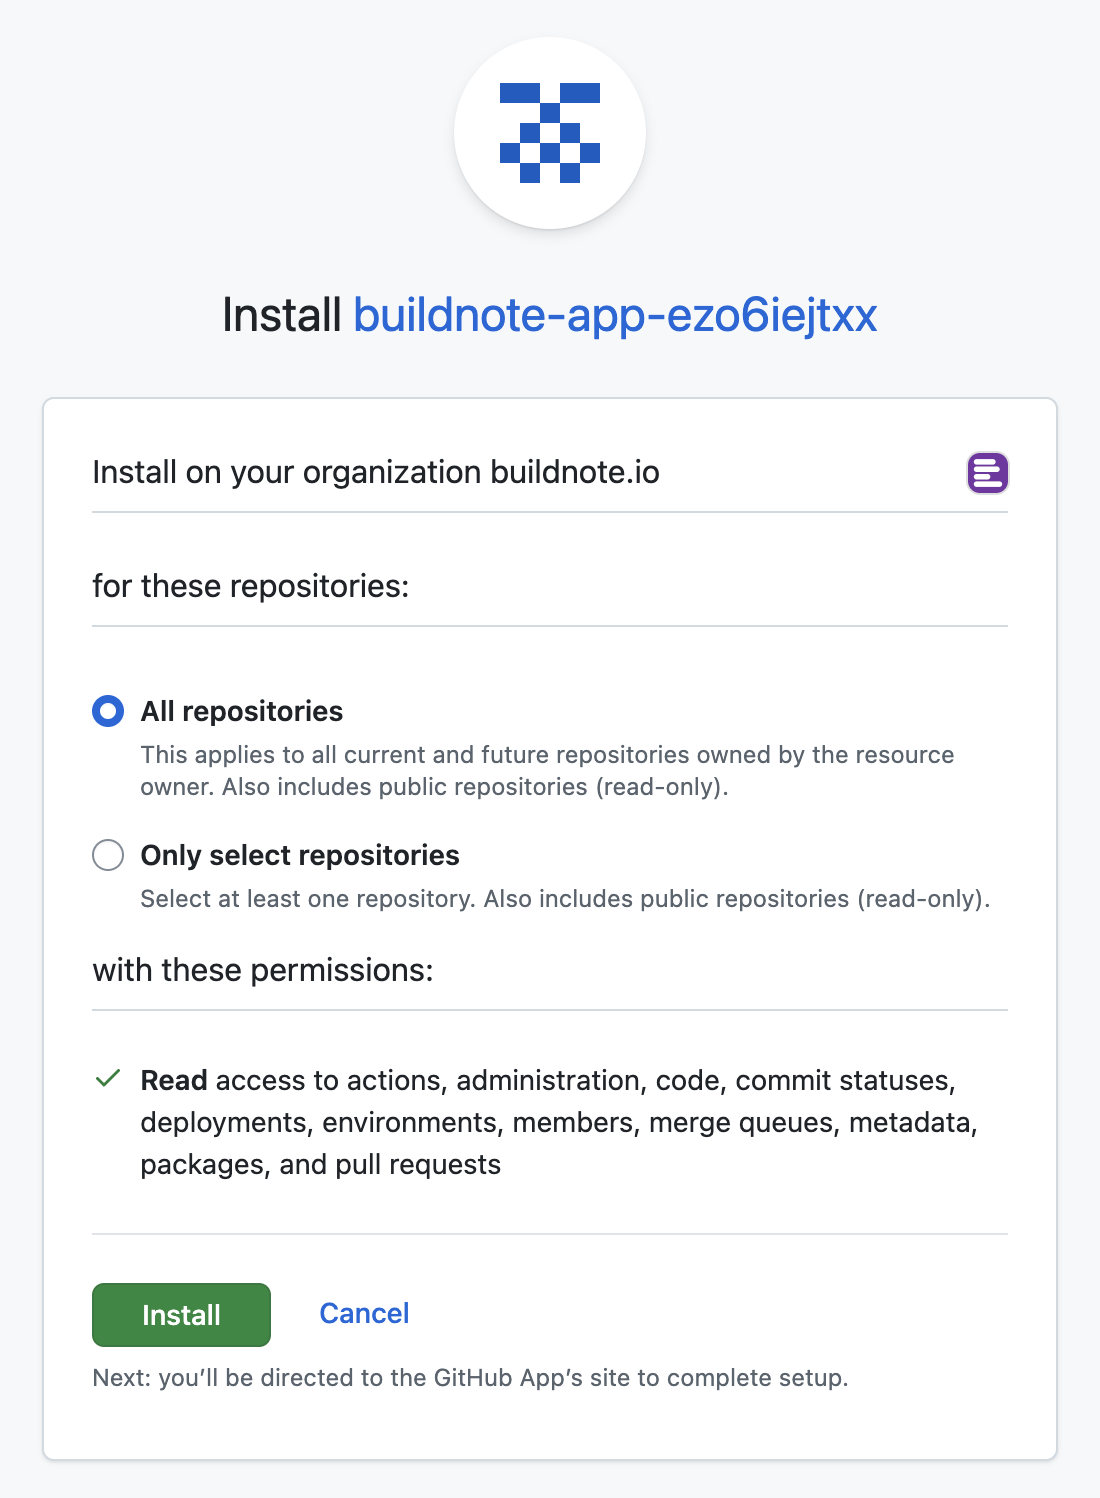
Step 4. App Installation
After the app has been created you will be prompted to install it in your account.
You can give Buildnote GitHub App access to all repositories or limit access to preferred ones.
Step 5. Integration Connected
Once the GitHub app installation is complete you will be redirected back to Buildnote.
Congratulations 🎉 GitHub App integration is now configured and ready to receive events.
GitHub Webhook
Some GitHub users may not have enough permissions to create an app in their organization. You can still integrate Buildnote by configuring a GitHub Webhook at the repository level. This approach provides an alternative path to receive pipeline events when app installation is not possible due to organizational restrictions.
Step 1. Connect GitHub Webhook Integration
In Buildnote navigate to Settings > Integrations and connect GitHub Webhook.
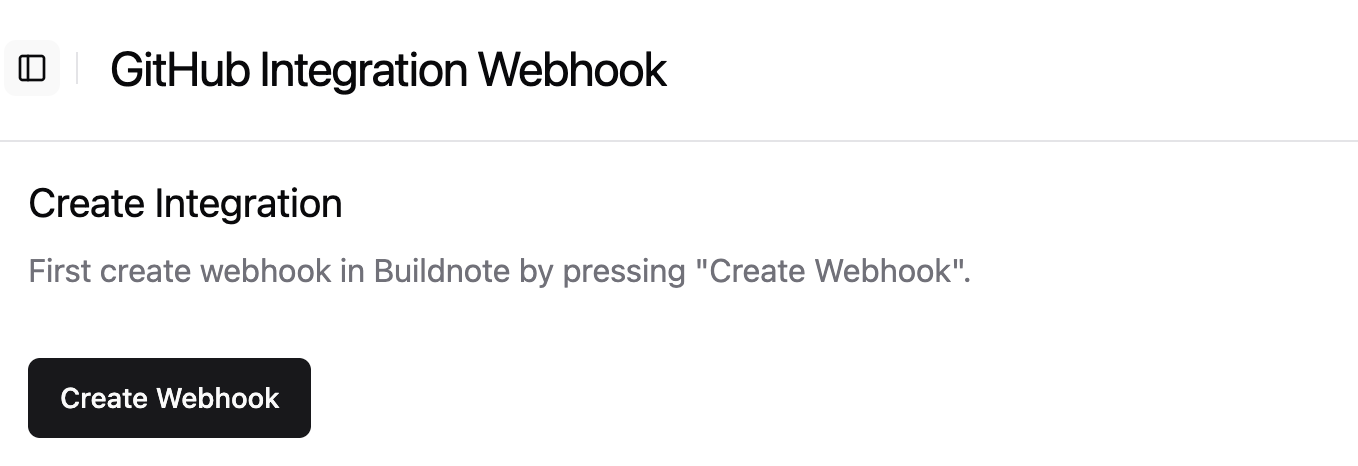
Step 2. Create Webhook
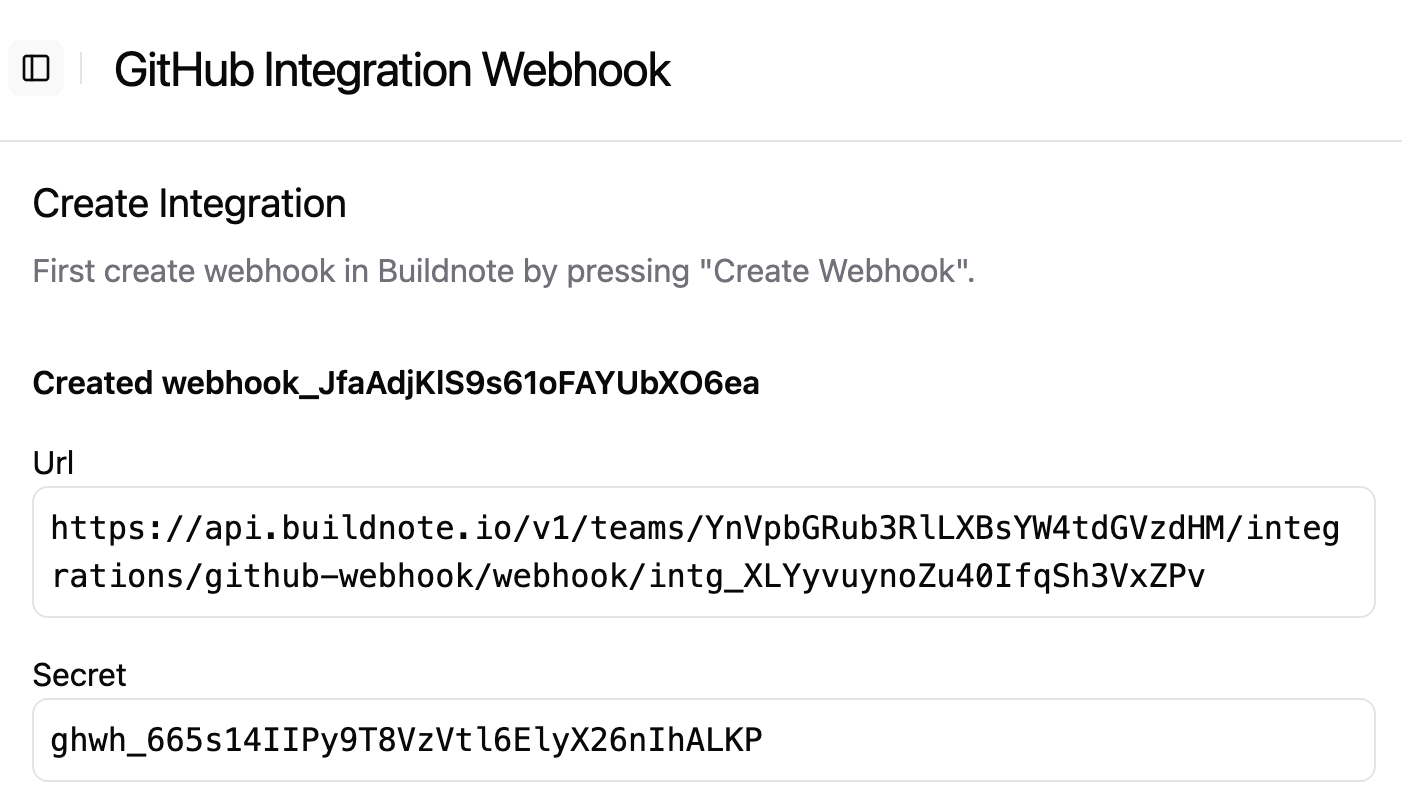
First create webhook in Buildnote by pressing Create Webhook.
IMPORTANT
Webhook details are only displayed once after creation, so make sure you make a note of them or stay on the page.
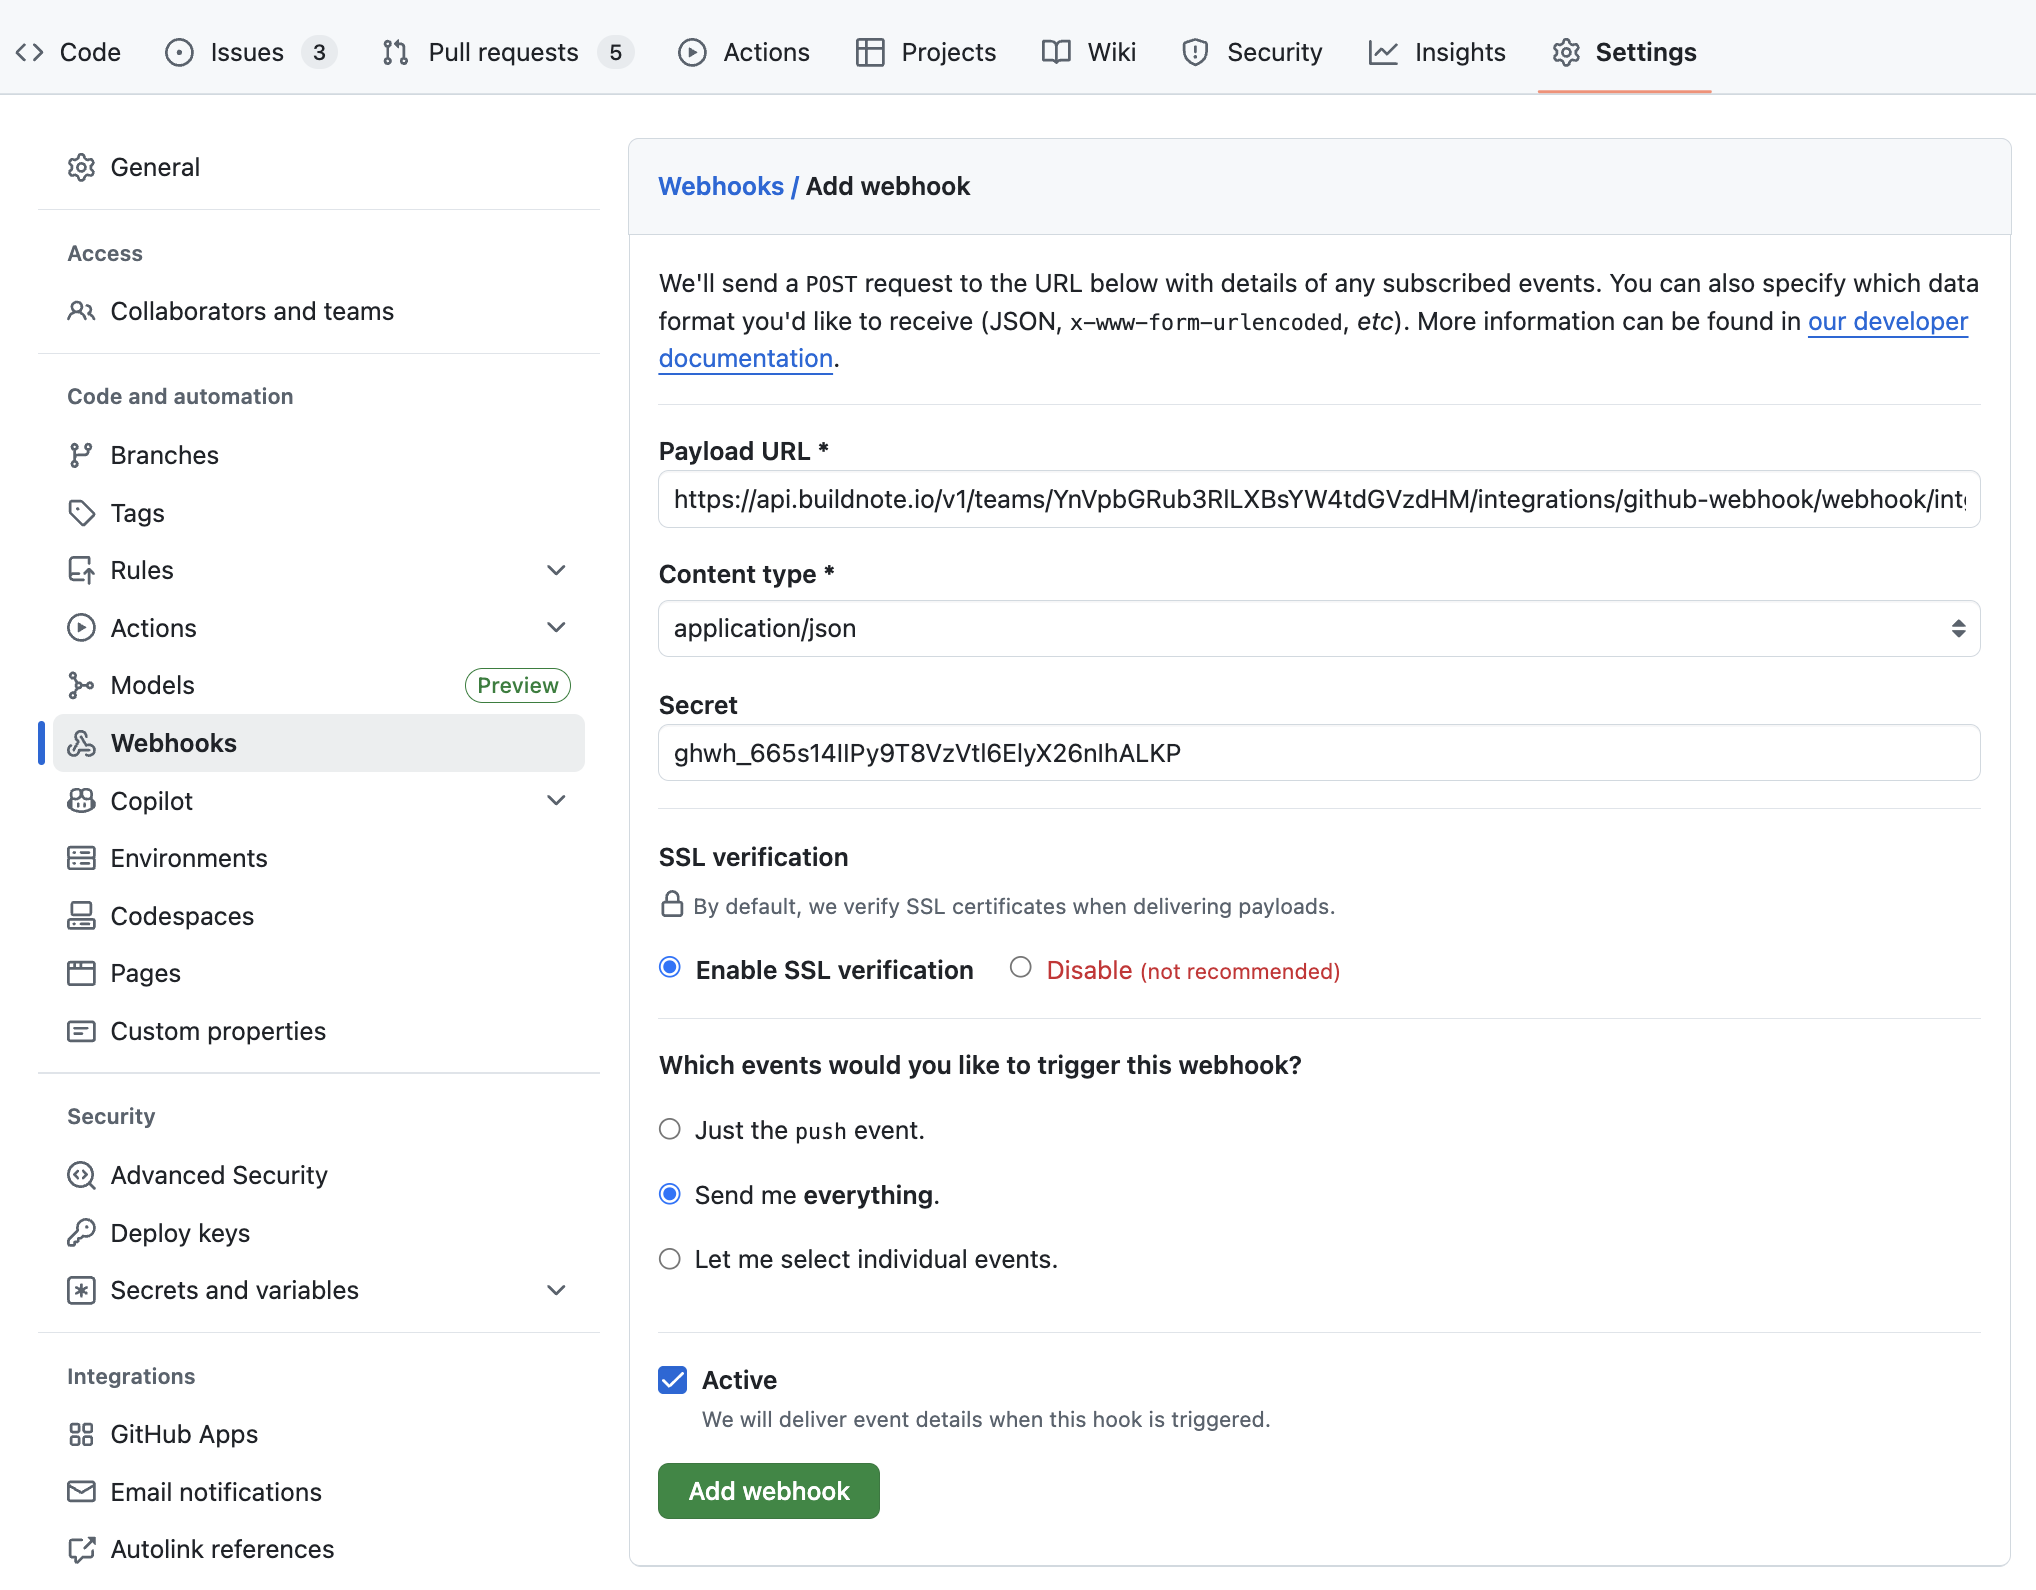
Step 3. GitHub Webhook Configuration
Create a new webhook in GitHub repository settings and enter details from Buildnote.
Make sure to select the content type of application/json, check Enable SSL verification, and for the best experience select Send me everything in the event triggers.
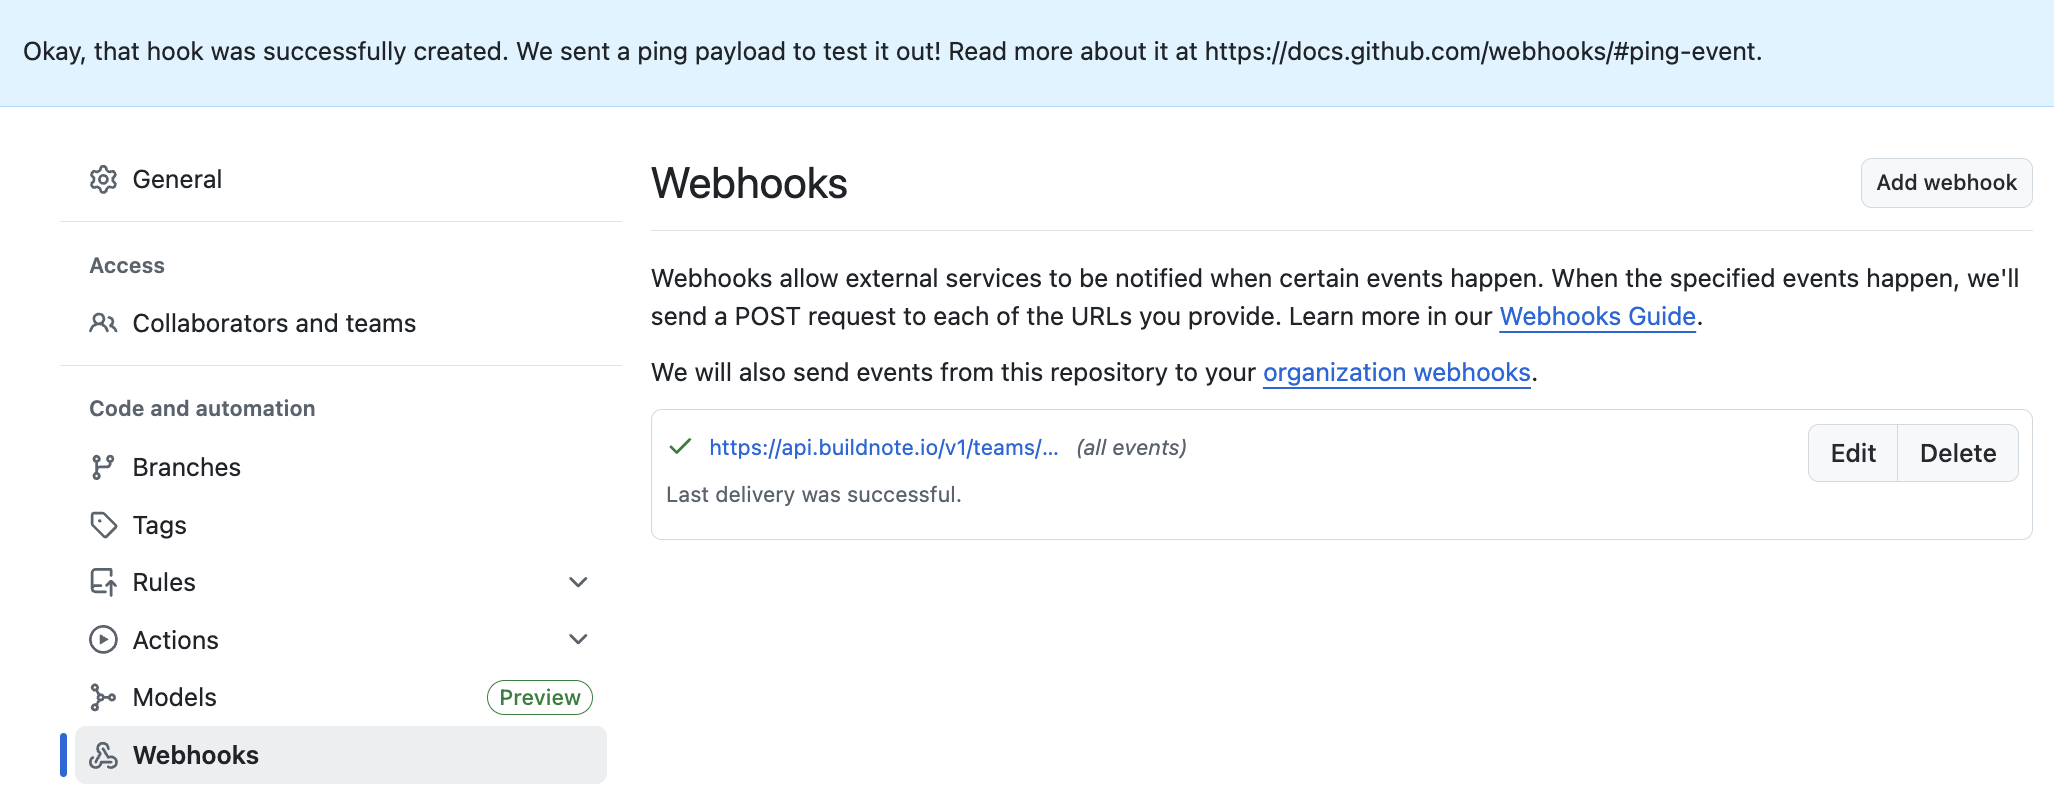
Step 4. Verify GitHub Webhook
GitHub will verify that your webhook is valid and can receive events successfuly.
Step 5. Integration Connected
Once the GitHub webhook setup is complete you should see new integration in Buildnote under Settings > Integrations.
Congratulations 🎉 GitHub Webhook integration is now connected and ready to receive events.
GitHub Action
The platform provides a GitHub Action that wraps core CLI commands for seamless workflow integration.
Basic Usage
Add the action to your workflow file with minimal configuration. Ensure BUILDNOTE_API_KEY is configured in your repository secrets and BUILDNOTE_GITHUB_JOB_NAME matches your job name or ID for proper event linking.
name: Example workflow using Buildnote
on:
  push:
    branches:
      - main
jobs:
  example:
    name: Example
    runs-on: ubuntu-latest
    steps:
      - name: Collect events
        uses: buildnote/action@0.2.10
        with:
          command: 'collect'   # (1)
        env:
          BUILDNOTE_GITHUB_JOB_NAME: Example  # (2)
          BUILDNOTE_API_KEY: ${{ secrets.BUILDNOTE_API_KEY }}   # (3)
if: always()- Command to execute by the action (defaults to
collectif not specified) - Name must match job name or job ID if no name is specified in the workflow file
- API key used to upload collected events. GitHub account administrators can regenerate this key from the Security tab in team settings
Install Only Mode
For workflows requiring direct CLI access, run the action in installOnly mode to skip automatic collection and call commands manually in subsequent steps.
name: Example workflow installing and using CLI directly
on:
  push:
    branches:
      - main

jobs:
  example:
    name: Example
    runs-on: ubuntu-latest
    env:
      BUILDNOTE_GITHUB_JOB_NAME: Example
      BUILDNOTE_API_KEY: ${{ secrets.BUILDNOTE_API_KEY }}
    steps:
      - name: Install CLI
        uses: buildnote/action@0.2.10
        with:
          installOnly: 'true' # (1)

      - name: Trace commands  # (2)
run: buildnote trace --name="trace a command" -- sleep 2- Install only without collecting events
- Execute CLI commands in separate steps