SAML SSO Integration
Buildnote provides SAML integration on paid plans, enabling you to configure your organization's SSO provider for streamlined user authentication and onboarding.
Configure SAML SSO
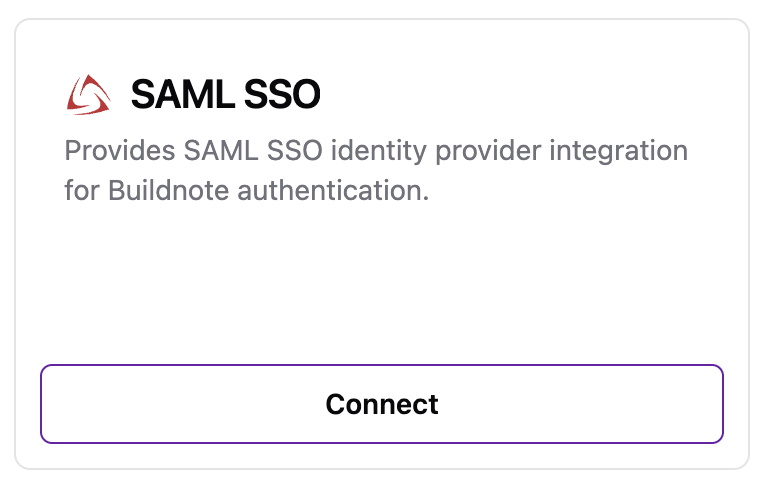
Step 1. Connect SAML SSO Integration
Navigate to Settings > Integrations in your Buildnote dashboard and select Connect on the SAML SSO option.
Step 2. Enter IDP details
Provide the required Identity Provider (IDP) configuration details specific to your SSO provider and select Create.

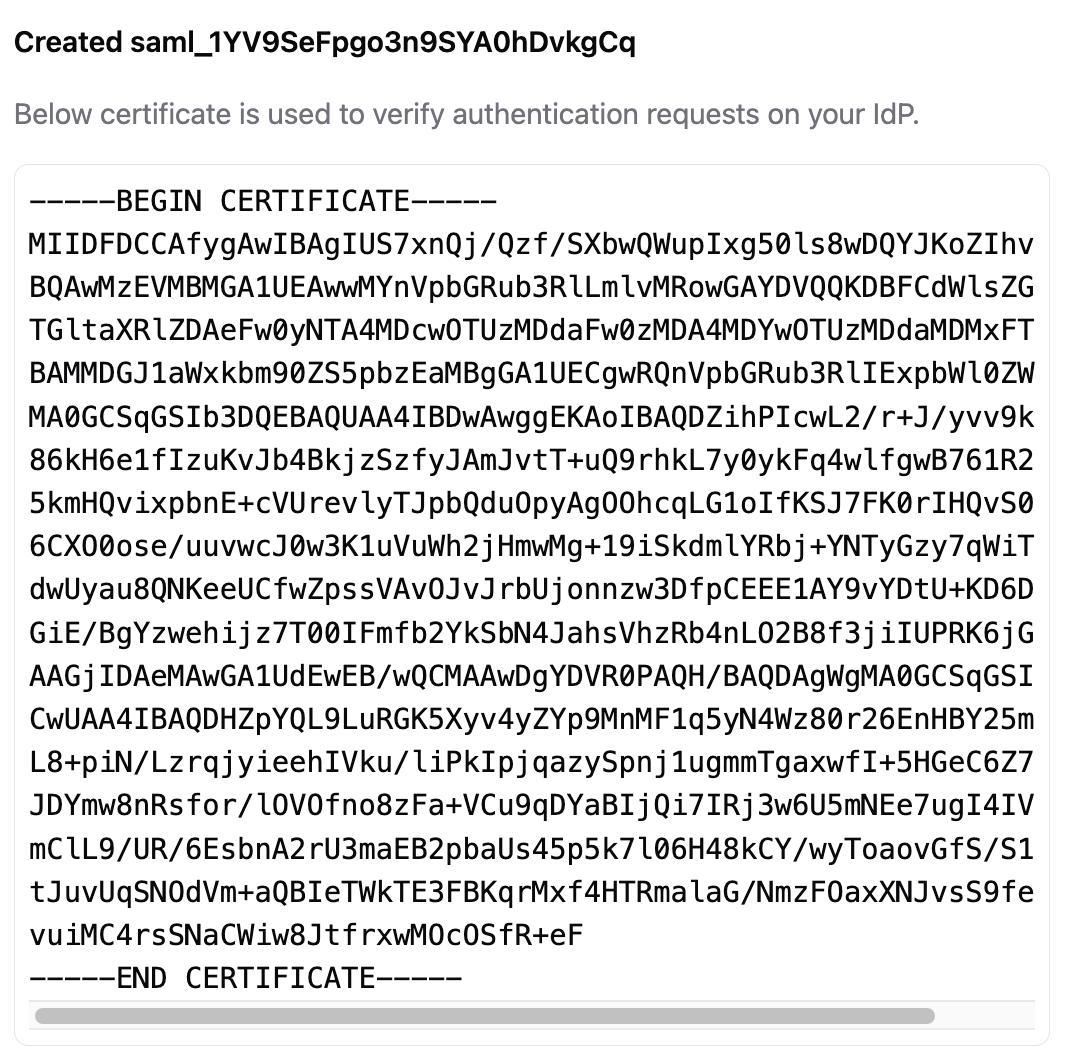
Step 3. Certificate Created
The system generates an authentication request certificate for your SAML configuration. Save this certificate as your provider may require it during setup.
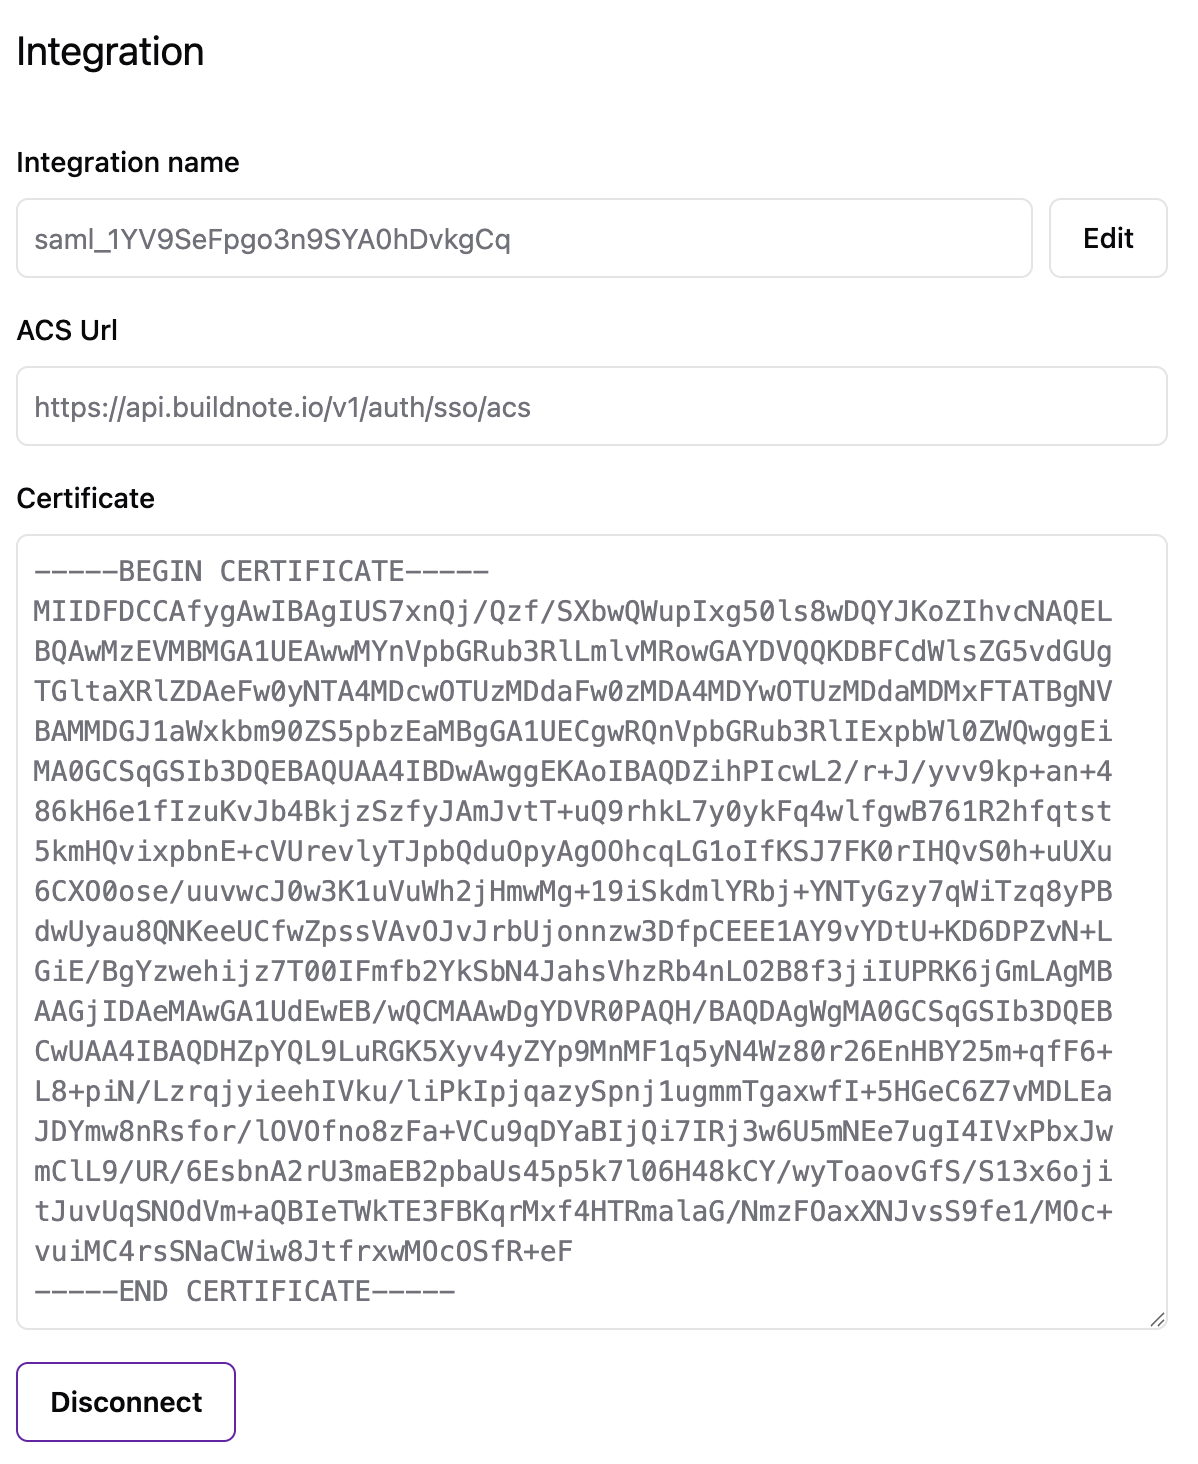
The certificate remains accessible through the integration configuration interface.
Step 4. Integration Connected
The SAML SSO integration is now active and ready to authenticate users.
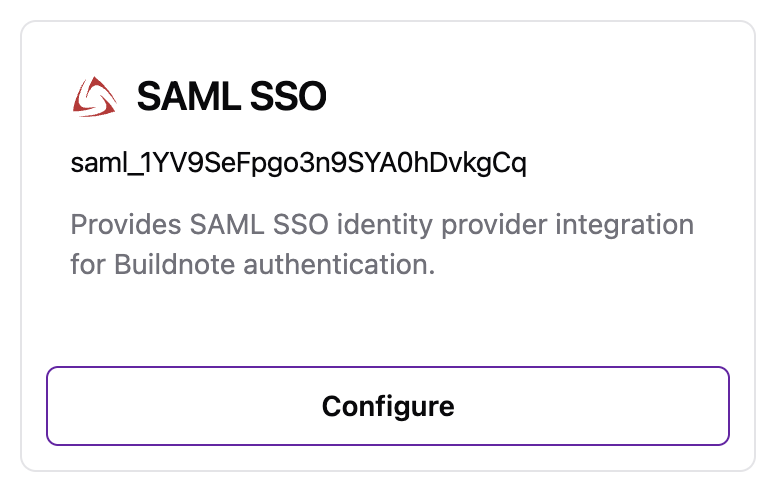
Access additional configuration options and details through the Configure button.
User Sign-Up
Users must complete initial registration before authenticating through SAML SSO.
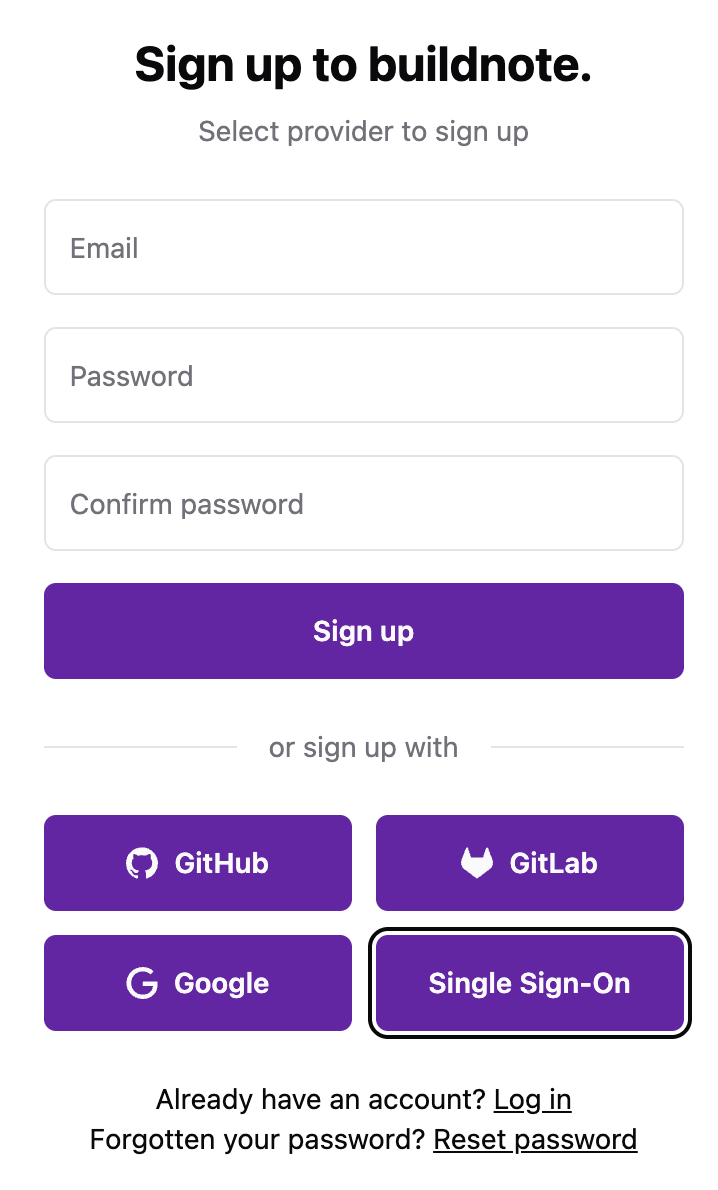
Step 1. Navigate To Sign Up
Access the Buildnote Sign Up page and select Single Sign-On, or navigate directly to the Single Sign-On Sign Up page.
Step 2. Sign Up With Team Name
Enter your organization's team name and select Sign up.
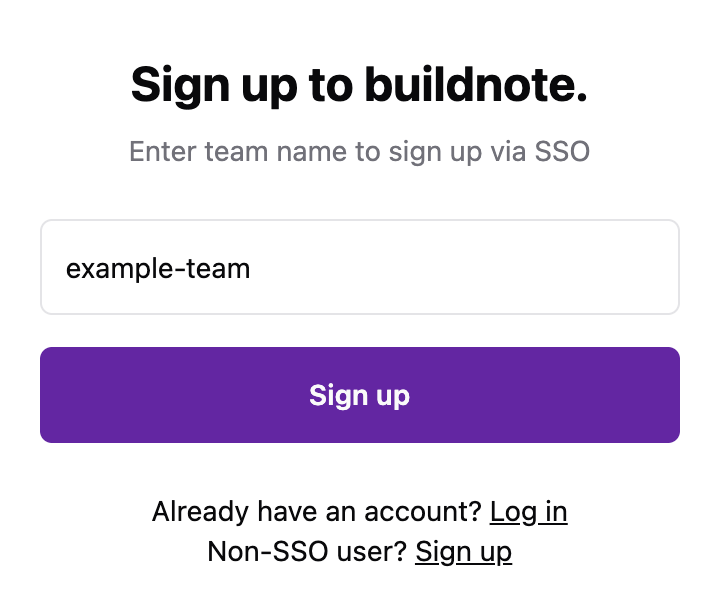
The system redirects you to your configured SSO provider for authentication.
Step 3. Sign Up Successful
After successful authentication with your SSO provider, you return to Buildnote with your account created.
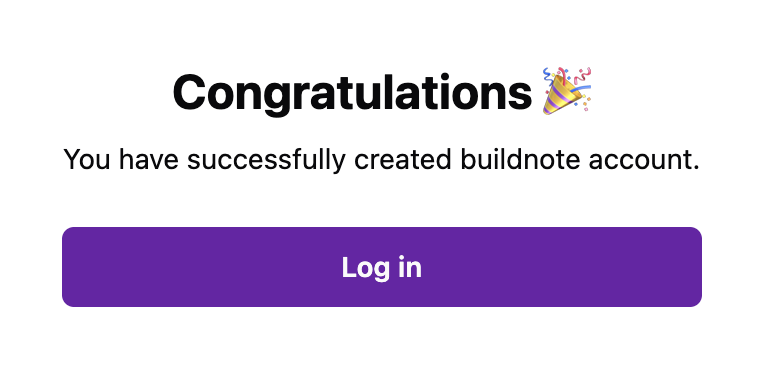
Your account is now active and configured for SAML SSO authentication.