Gemini Integration
Buildnote's AI features run against a model provider you own. Connect Google Gemini with an API key from your own Google account and every AI request your team makes, whether a failure summary or a question in AI Insights, is answered by the model you choose on your key.
See AI Insights for what those two features do once a provider is connected.
Before You Start
Your team needs a Pro or Enterprise plan, and you need the Admin or Billing Manager role, because only those roles install and configure integrations.
The AI features also need switching on. Under Settings > General > Event Collection, enable AI Insights ("Use AI to gain better insights (e.g. summarise failures or detect flaky tests)"). Connecting a provider without that switch stores the credentials but leaves the features off.
IMPORTANT
A team holds one Gemini integration at a time. You can connect Anthropic or OpenAI alongside it, but only one connected provider answers AI requests and you do not choose which, so disconnect the provider you are replacing rather than leaving both connected.
Step 1. Create A Gemini API Key
Sign in to Google AI Studio and create a Gemini API key. Google keys begin with AIza, and the value is shown once, so copy it before you leave the page.
This is the Gemini API key rather than a Vertex AI service account, because the Gemini API is what gets called. The form in the app points you at the Google Cloud console instead, which issues the same kind of key. Google bills the token usage on it to your own account.
Step 2. Connect The Gemini Integration
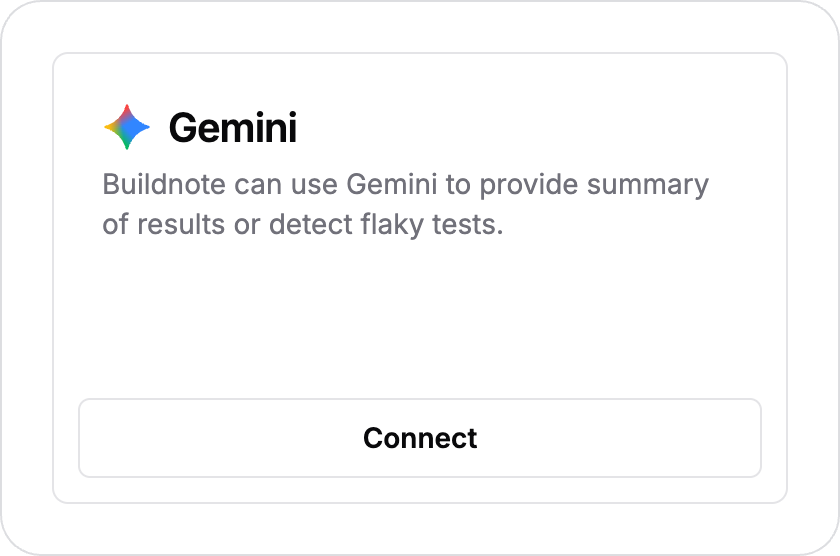
In Buildnote navigate to Settings > Integrations, find Gemini under Available and select Connect.
Step 3. Enter The Integration Details
Give the integration a name you will recognise in the integrations list, paste the API key, and choose the model to use.
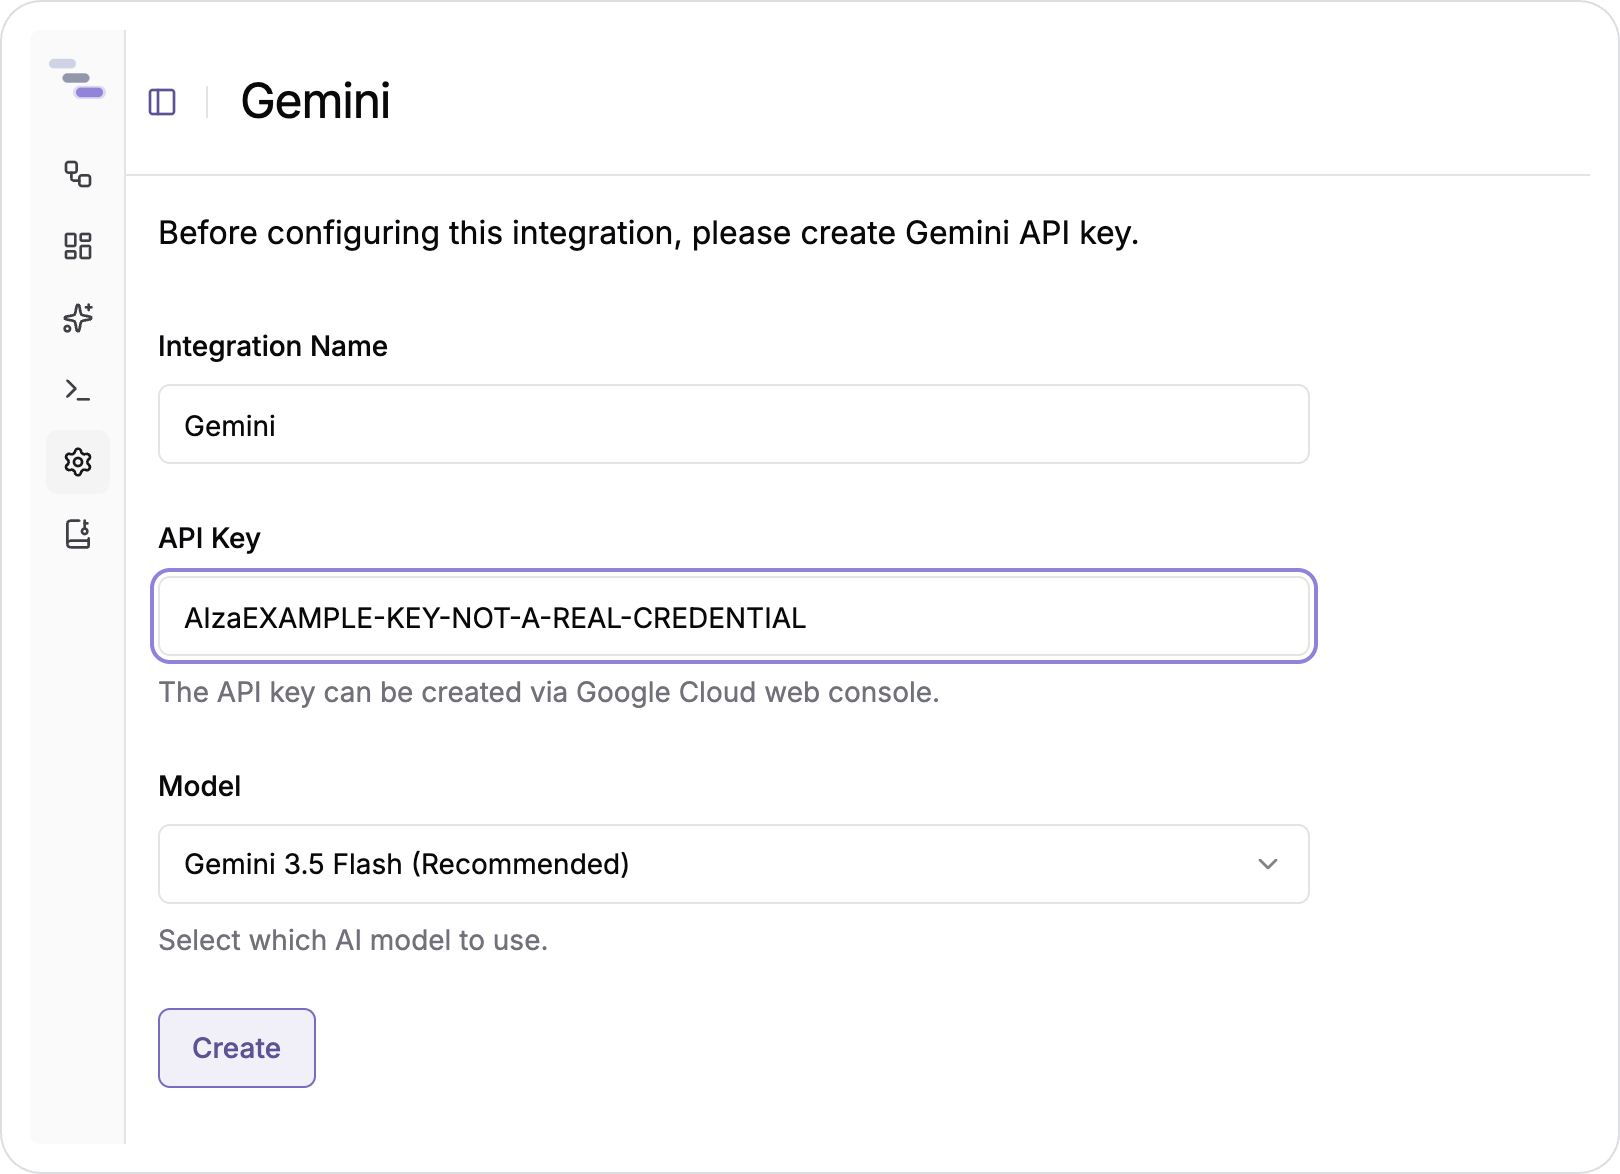
The model dropdown lists the Gemini models supported, with the recommended model already selected. Flash models keep the cost per request down, while the Pro models handle harder questions.
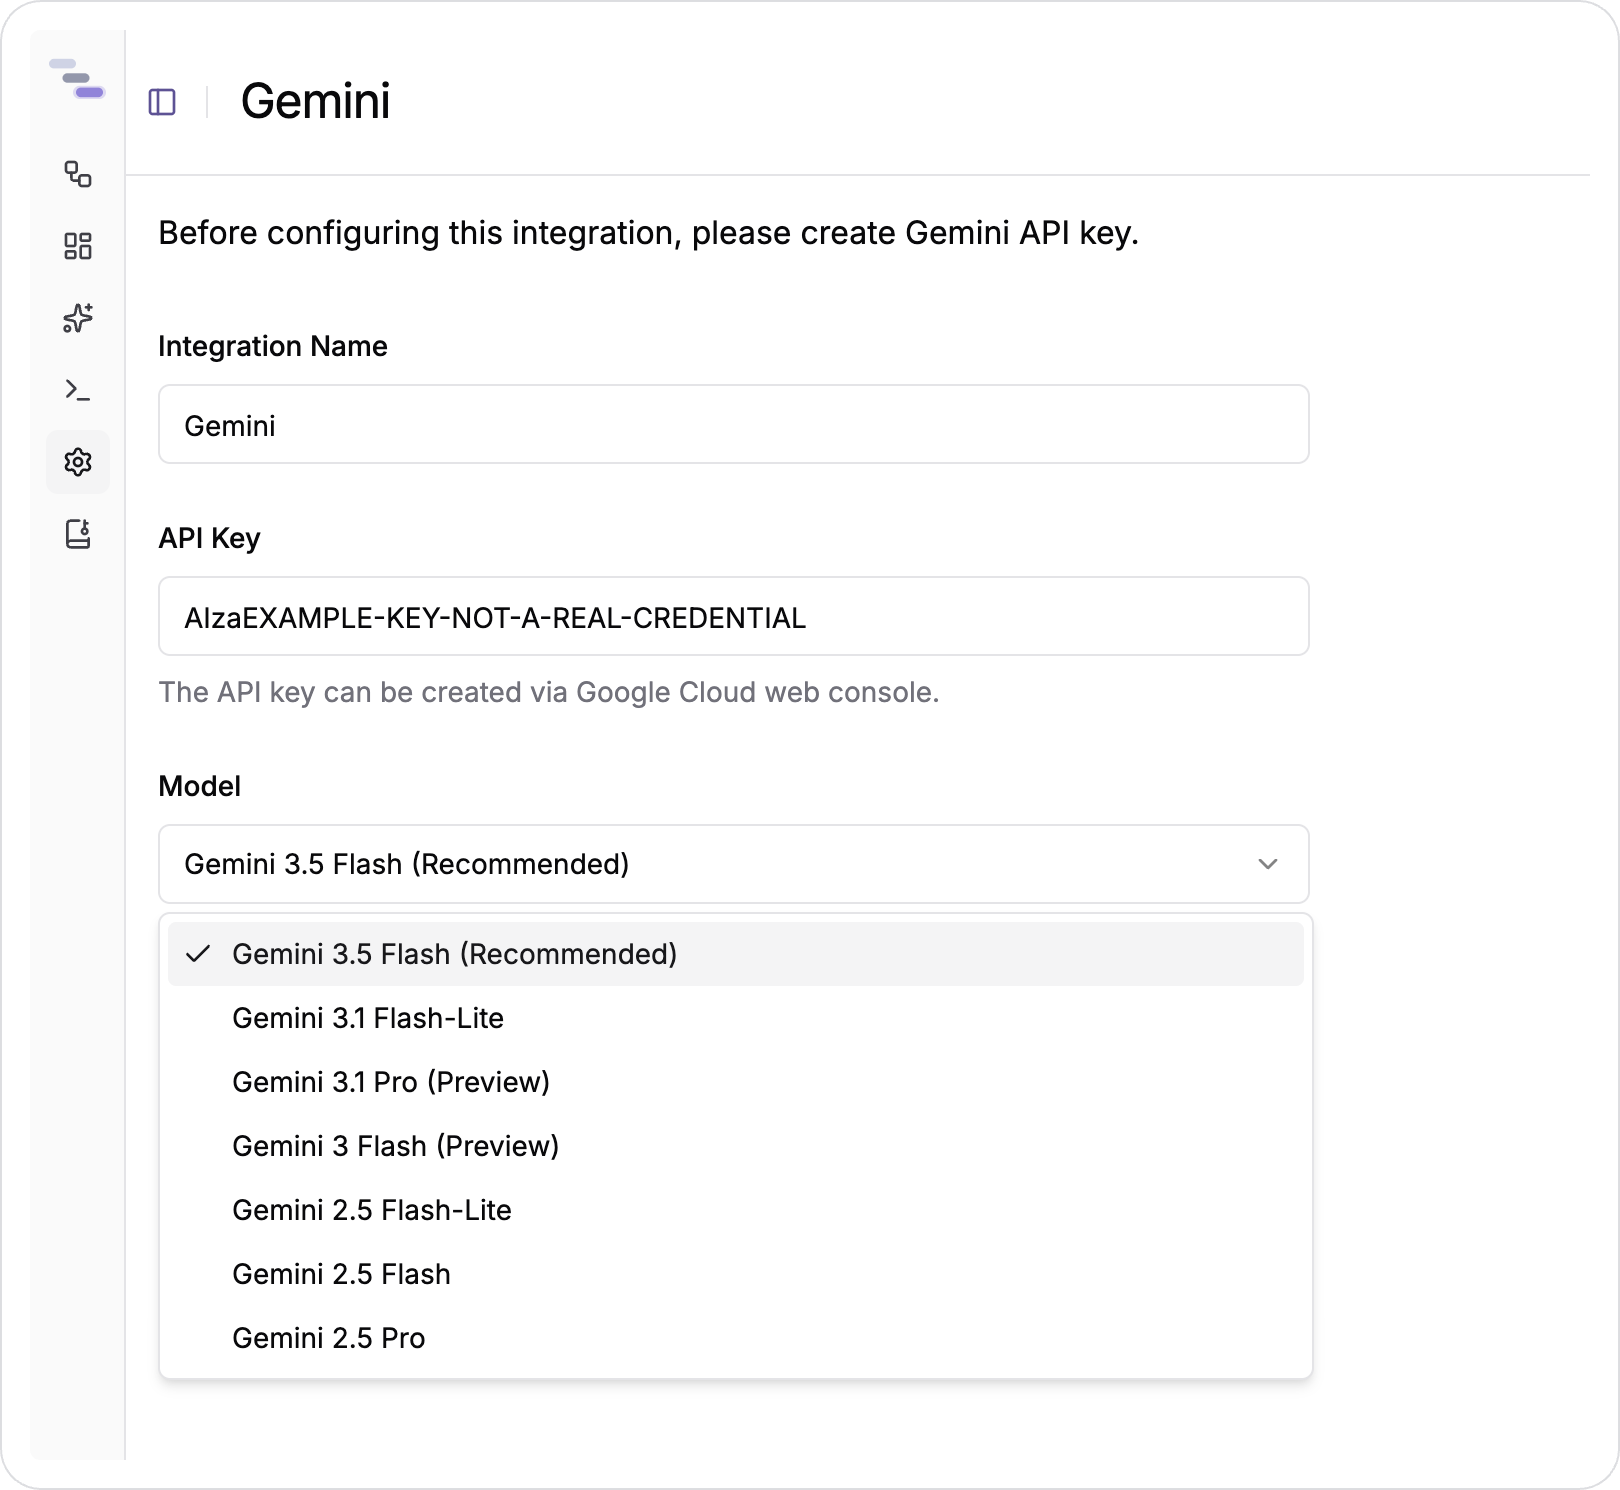
Select Create. The key is stored encrypted and used only for your team's requests.
Step 4. Integration Connected
The integration moves to the Connected section, listing the name you gave it.
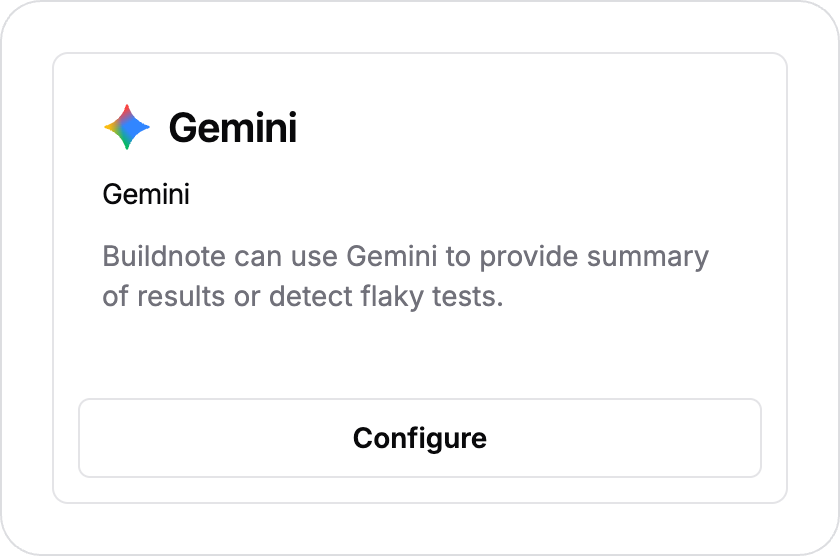
Failure summaries start appearing on failed events as they arrive, and AI Insights is ready to answer questions.
Step 5. Change The Name Or Model
Select Configure on the connected integration, then Edit beside the field you want to change. A new name or model saves on its own and applies to the next request, so nothing else in the app needs to change.
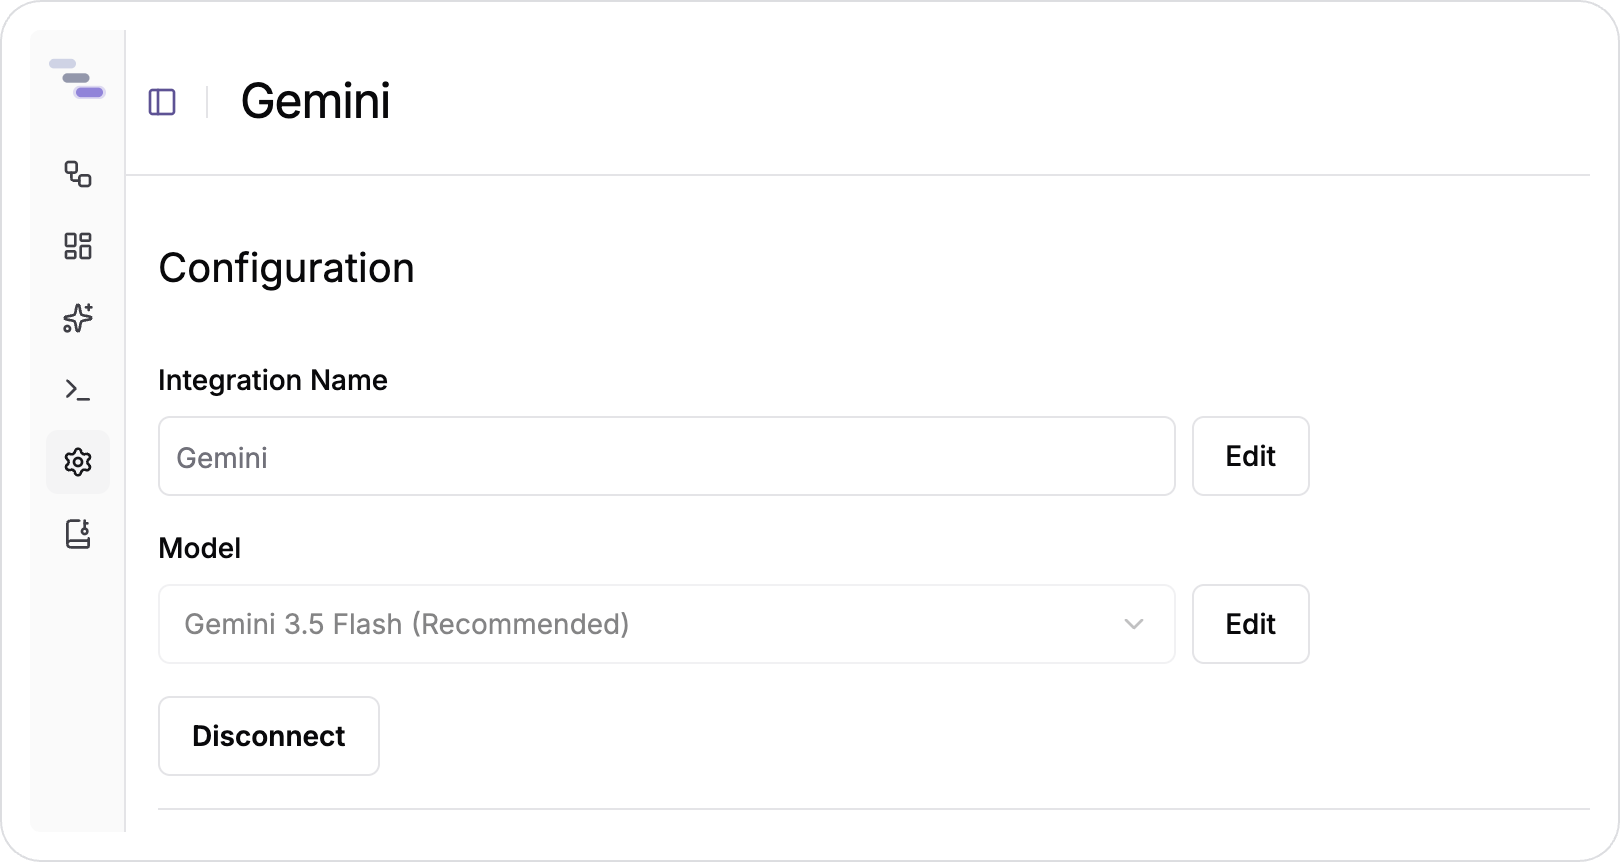
The same page holds Disconnect, which removes the integration and the stored key. Rotating a key means disconnecting and connecting again with the new value.
Costs
AI requests are billed on top of your plan, and every AI Insights reply reports what it cost. Pricing detail for each plan is on the pricing page. Google charges the token usage on your key separately.